How to create your age-60 portrait
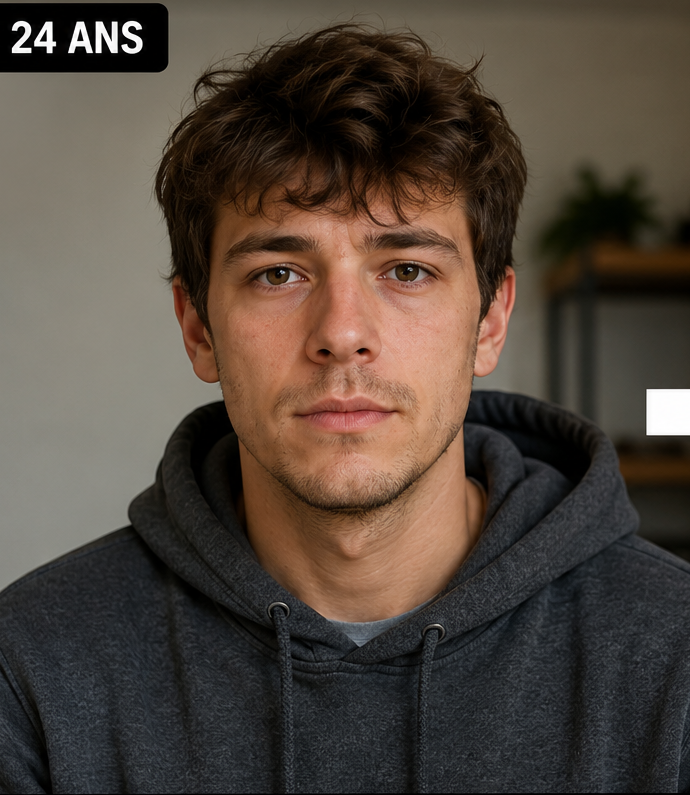
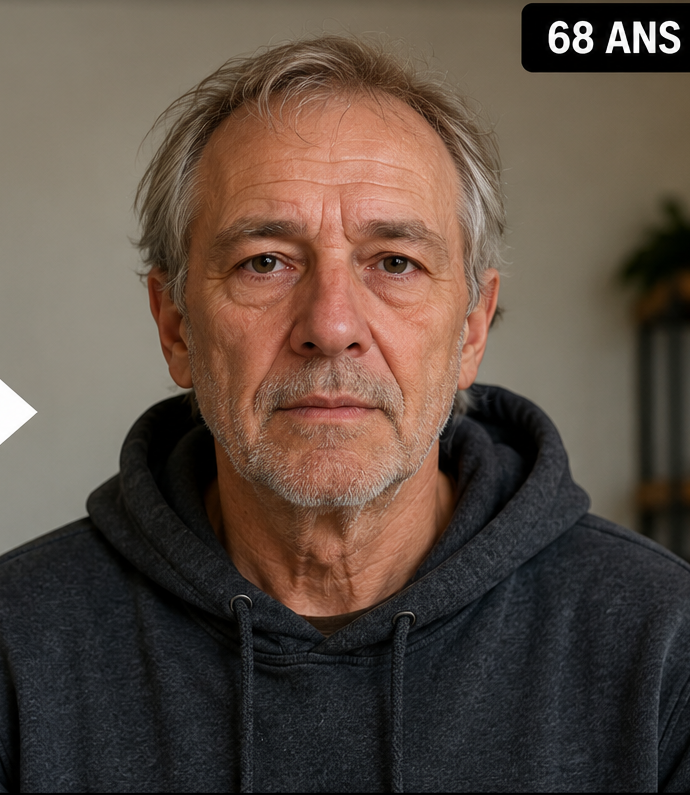
Start in the free demo with one clear source photo. Choose 60 as the target age and generate the watermarked preview. If you want to build a larger sequence, continue in the full Web App and generate additional ages from the same original portrait.
You do not need to prepare a prompt. The target age is the main control. The source photo still matters, so choose one where the full face is sharp and naturally lit.
1
Upload your portrait
Use one clearly visible face.
2
Select 60
Set age 60 as the target.
3
Check recognition
Compare the eyes, nose, mouth, jaw and overall proportions with your original.
What an AI age-60 image should look like
There is no single correct way to look at 60. The generator is creating a visual interpretation, not matching a universal age template. A useful result should therefore feel like a more mature version of the source person, not simply a face covered with generic age effects.
Look for a coherent combination of age cues rather than one exaggerated detail. If the result changes the underlying face too much, try another generation or use a cleaner source image.
Why age 60 is easier to compare than a very large age jump
A moderate age transformation gives you more of the original face to compare. With a target such as 90, the model has to invent a much larger visual change. Age 60 can therefore be a useful reference point in a longer sequence.
If you plan to generate 60, 80 and 90, evaluate age 60 first. If the identity already drifts at the first checkpoint, there is little value in judging the later frames until the source or generation is improved.
Best photo choices for a future-face preview
A front-facing portrait is easiest to compare, but a slight angle can work if the whole face remains visible. Avoid group shots, strong sunglasses, masks, heavy filters and very small faces inside a large image.
Natural expression is helpful because it preserves the facial relationships you already recognize. A dramatic pose or exaggerated smile can make the generated image feel more different than it really is.
Turn one age-60 image into a useful timeline
Once you have a good age-60 result, generate 80 or 90 from the same source photo. This creates a sequence with a moderate checkpoint and one or two stronger transformations. The timeline also makes identity drift easier to spot because you can compare neighbouring ages rather than only the first and last frame.
For social content, this structure works well as “today → 60 → 80 → 90” because the audience can understand the progression immediately.
Questions people ask about this AI age preview
Can I see myself specifically at age 60?
Yes. Choose 60 as the target age in Face Aging Studio.
Is the age-60 result a prediction?
No. It is an AI-generated future-face simulation, not a guaranteed forecast.
Can I try age 60 for free?
Yes. The free demo gives one limited watermarked preview.
Should I start with 60 before trying 80 or 90?
It can be useful because 60 is a more moderate checkpoint and makes identity consistency easier to judge.
Can I use the same photo for several ages?
Yes. Reusing one source portrait is the best way to make the sequence comparable.