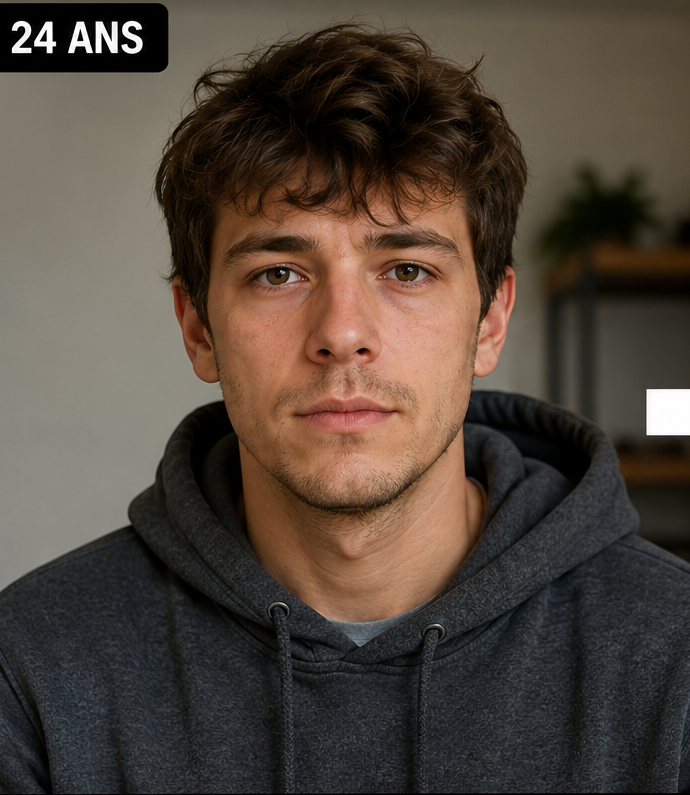
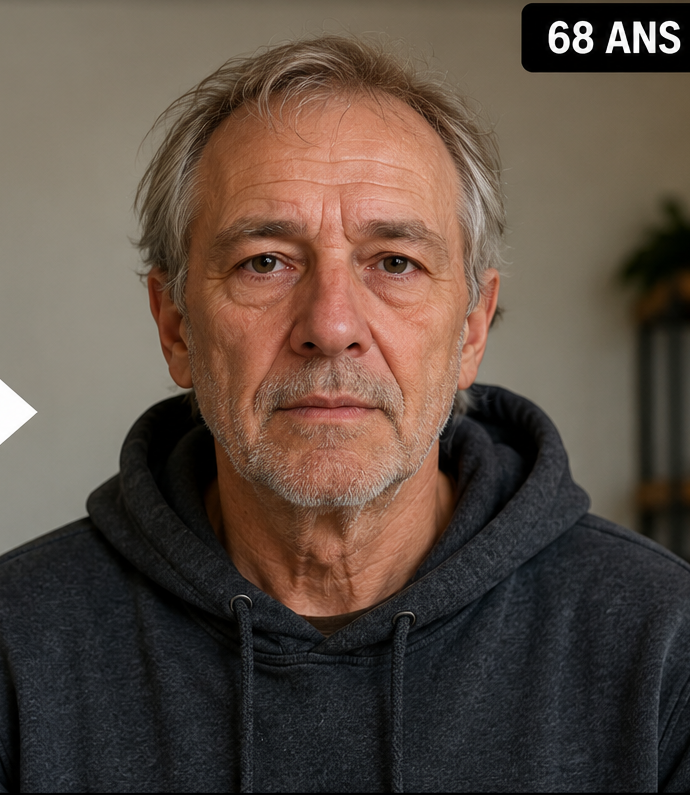
From one photo to an age-progression timeline
Start with one clear portrait and keep it as the reference for every generation. You can first test a single age in the free demo, then use the full Web App to create additional ages from the same source. Each generated target age uses one credit.
A simple timeline might use 40, 60, 80 and 90. You do not need every decade. The goal is to choose enough checkpoints to see whether the same person remains recognizable as the requested age increases.
1
Fix the source image
Use the same original portrait throughout the sequence.
2
Choose meaningful checkpoints
Select ages that create visible but interpretable steps.
3
Compare the sequence
Look for continuity of identity from one age to the next.
What “identity consistency” means in age progression
Identity consistency means the generated images should still appear to belong to the same person. That does not require every pixel or expression to remain identical. It means the core relationships between facial features should stay recognizably stable while the appearance becomes older.
In practice, compare eye shape and spacing, the nose and mouth relationship, chin and jaw shape, and distinctive details. If age 80 suddenly looks like a different person from age 60, the sequence has identity drift even if both images are individually realistic.
Choose age steps that answer your actual question
If you are curious about the near future, choose a moderate target such as 50 or 60. If you want a long-range transformation, add 80 or 90. If you are creating a visual timeline for social media, evenly spaced ages can make the progression easier to understand at a glance.
Extreme jumps are more visually dramatic but also give the model more freedom to invent. That is why a multi-age sequence is useful: it provides intermediate references instead of asking one image to carry the entire story.
How the source photo affects the whole sequence
A poor source image does not only affect one generation; it can weaken every age in the timeline. Use a photo with adequate resolution, one clearly visible face and natural lighting. Avoid strong beauty effects that have already changed skin texture or facial proportions.
Expression should also be considered. A very wide smile changes cheeks, eyes and mouth shape, which can make cross-age comparisons harder. A natural expression is usually easier to evaluate.
How to evaluate an age-progression set
First ask whether every frame looks like the same person. Second, ask whether the age change grows coherently rather than appearing random. Third, inspect local artifacts around hair, teeth, ears, glasses and facial hair. Finally, compare the generated sequence with the original rather than only comparing the generated images with one another.
Do not interpret a smooth sequence as proof that it predicts the future. Consistency means the images work together as a generative transformation, not that the timeline is biologically certain.
Questions people ask about this AI age preview
What is age progression from a photo?
It is the creation of one or more older-looking versions of a face using a source portrait as the reference.
Can I generate several ages from the same photo?
Yes. The full Web App supports multiple target ages; each generated age uses one credit.
Which ages should I choose?
Choose checkpoints that match your goal. For example, 60, 80 and 90 create a simple long-range sequence.
Why does one age sometimes look less like me?
Large transformations, difficult source photos and generation variation can cause identity drift. Compare the core facial structure and regenerate when needed.
Is age progression scientifically predictive?
No. It is a generative visual simulation and should not be presented as an exact forecast of future appearance.